Showing posts with label Thanksgiving. Show all posts

23 November 2011

"Busia's" Stuffing

By now, I hope that you know we love traditions and remembering our loved ones.

My husband's Polish American Grandma was known as "Busia" by my older daughter before she passed away a couple of years ago.  The title "Busia" was at her request. 

My husband and his family have always loved her cooking and her Thanksgiving Day stuffing was no exception.  It's not the stuffing I'm used to but that's the beauty of family, each one has it's own traditions. 

And I still make it in memory of her.  She was a wonderful woman and was always very kind to me so deserves to be remembered.

Ingredients:

1 loaf of Bread torn apart (she preferred white bread)
1/2 an Onion, peeled, washed, finely diced
1 rib of Celery, washed and finely diced
2 cloves of Garlic, peeled, washed, finely diced
2 Eggs
handful of Curly Parsley
1 Turkey Liver, well chopped
Salt and Pepper to taste
Chicken Broth, roughly 2 cups


Tear apart the bread.  Add all ingredients and mix together.  Add enough chicken broth to make the dish moist.


Stuff the bird and use one end of the bread to close the opening.


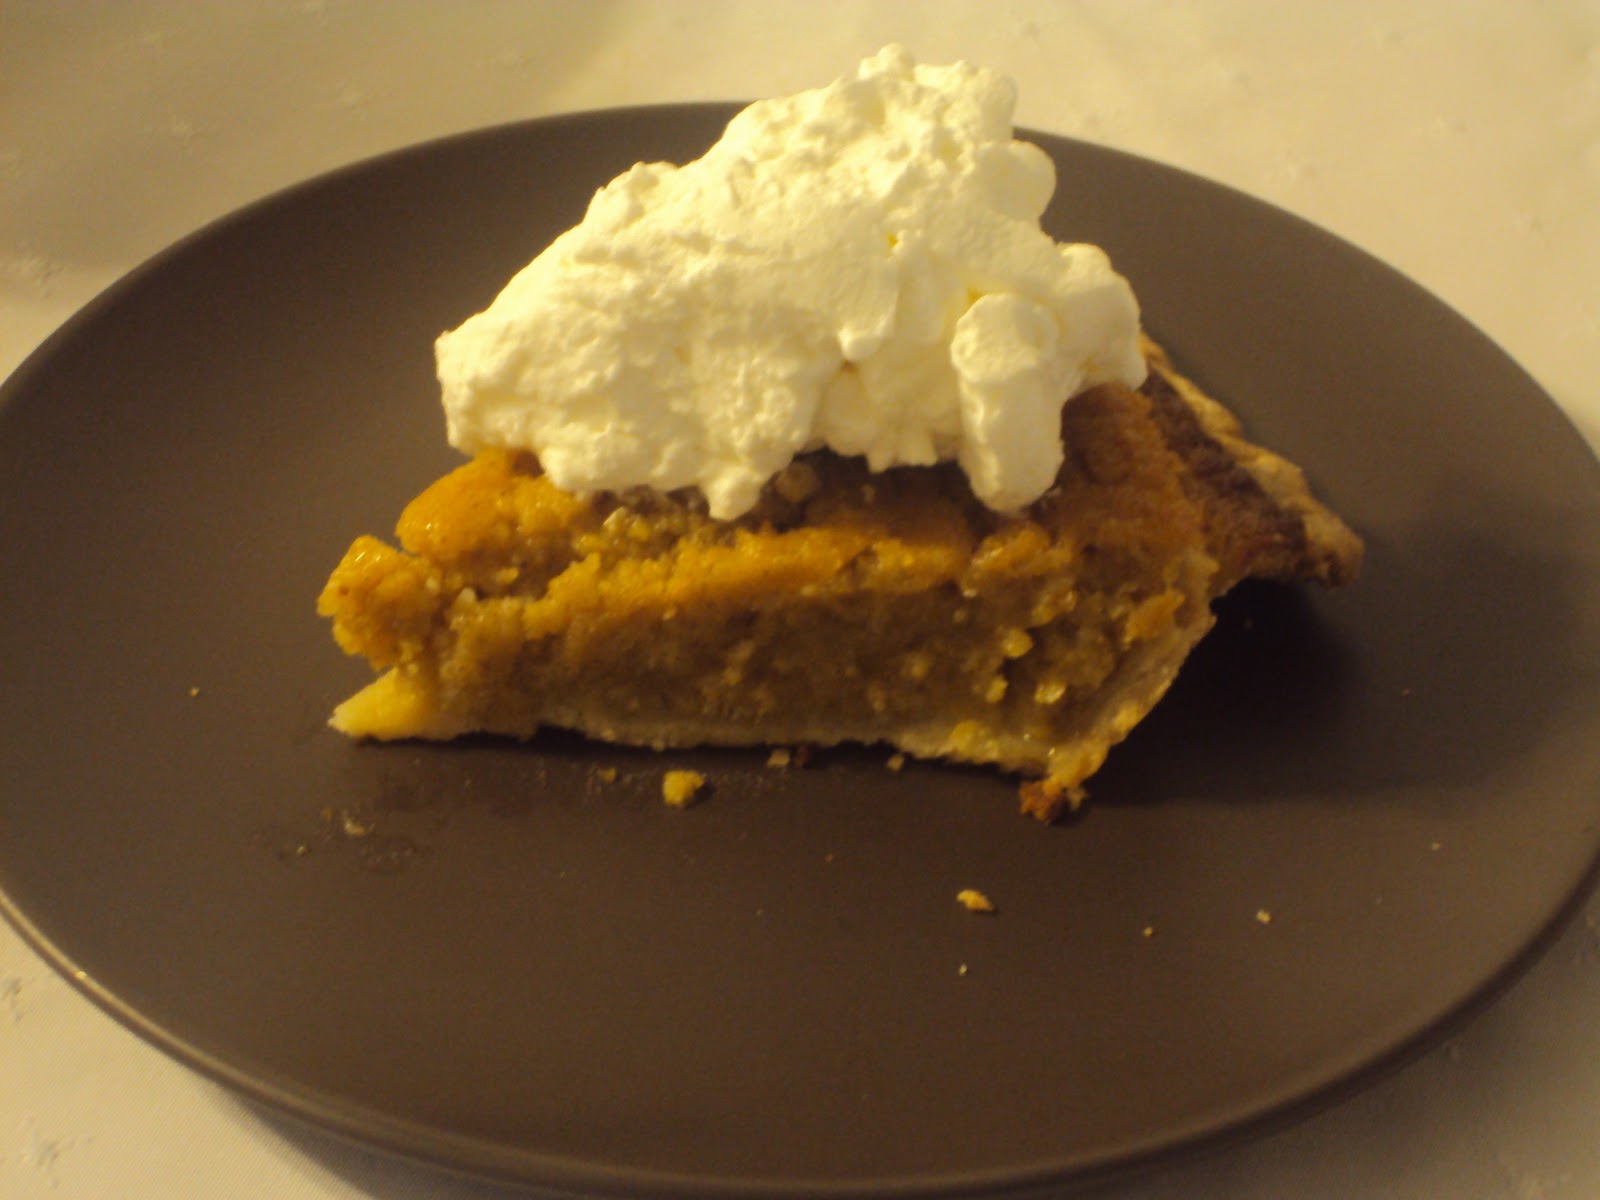
I took this photo after we were done eating, sorry, I was too hungry beforehand...

Smacznego!


Note:  You could add marjoram to this.  You can also use leeks or shallots instead of an onion.  It's really just whatever you prefer.

This is a great dish to have your kids help.  Have them tear apart the bread and curly parsley while you cut the ingredients.  They can also add the cut up onions and celery.  My toddler helped with this recipe this year and was extremely dumna (proud).


Happy Thanksgiving from my family to yours!


Related Posts: 

Busia's Mushrooms

Thanksgiving and Remembering Our Past with Sauerkraut

Pumpkin Pie from a Pumpkin (Not a Can)

01 December 2010

Sweet Potatoe Pie and I Shut My Mouth...

...because I am busy eating it!  I love sweet potatoes, they are one of my favorite vegetables.  And to turn it into a dessert just makes me love it even more!  I can eat as much dessert as I want, because I'm really eating vegetables, or at least that's what I tell myself.  And if you love pumpkin pie, you will definitely love sweet potatoe pie.  In fact, of the two, I think sweet potatoe pie beats pumpkin pie hands down.


Ingredients:

Sweet Potato
1 Stick of Real Butter, room temperature
1 cup White or Brown Sugar
1/2 cup Milk (you can use evaporated, whole, or skim)
2 Eggs
1/2 teaspoon Ground Nutmeg
1/2 teaspoon Ground Cinnamon
1 teaspoon Vanilla Extract
Pie Crust (Graham Cracker or Unbaked Regular)

Boil the sweet potatoe whole in skin until soft, almost an hour.  If you are making Thanksgiving dinner, you can just boil this one with your other sweet potatoes.  Peel off the skin.

Mix the butter with the sweet potatoe until completely combined.  Add the rest of the ingredients and mix well until smooth. 

Open your oven door and place the pie crust on the rack.  Pour your mixture into the crust.  Bake at 350 degrees for roughly an hour, until the custard has set. 

You can either check by inserting your knife and checking if it comes out clean, like I do, so that I have an excuse to taste it, or you can jiggle it and see whether all but a one inch circle in center is set.  Don't worry about the moisture you will see between any cracks, that's the butter and will not make the crust soggy.  The pie will puff up a bit like a souffle then go down as it cools. 


I serve my desserts with homemade whipped cream, which literally takes seconds to make and is just as healthy, if not more so than that artificial fluff sold at the store...


Smacznego!

30 November 2010

Pumpkin Pie from a Pumpkin (Not a Can)

I came across a great website the other day and decided to try my hand at making pumpkin pie from a pumpkin versus the can I reach for every year. I figured that I had several pumpkins around the house which I had not gotten around to make into jack-o-lanterns in time for Halloween and since it was cold outside, the pumpkins had kept well in the meantime.

Two of the pumpkins had, in fact, been free since our town’s local Halloween festival hands out free pumpkins. After all, the Midwest is America’s Pumpkin Capital, so to speak, as the majority of pumpkins grown are out here. If you drive around areas of Wisconsin, as I did one day in early October, you can see field after field of orange, pumpkins by the thousands. With that encouragement of knowing that if I do fail in my attempt, I would not really be wasting a lot of $$, I went for it.

First, I washed the pumpkin very carefully with plenty of water. I cut it into manageable chunks, cleaned out the guts, and placed the pumpkin face down in my roasting pan and baked it covered. When it came out, there was really not much work, the skin came right off.


To be safe, because I was not sure whether my pumpkin was the variety meant for jack-o-lantern making versus pie making, I set it in my sieve for a half an hour to catch the water. Since my blender did not seem to want to blend the pumpkin for me, as I had drained the majority of the water earlier, I decided not to worry about the texture, which ended up not affecting the pie in the least bit anyway.


I then followed the recipe I found (except of course I forgot to check that I had ground ginger and vanilla extract, so mine did not have those flavors in it), and made two pumpkin pies, one in a graham cracker crust and one in a traditional deep dish crust.  I love to use a knife to check if the pie is done several times just so that I can sneak a taste here and there, so please forgive the knife marks in my otherwise beautiful pies.


I think that I should not have put as much ground cloves since I did not have the vanilla extract and ginger to balance it. However, the pies were eaten very quickly by my family and everyone raved how they could taste the difference this year and that I should make it this way every year.

I also ended up having enough pumpkin left over to make 2 1/2 more pies so I froze it in a plastic freezer bag to use another time.  I think I will make pumpkin muffins next.

If you are interested in the recipe I used, please check out http://www.pickyourown.org/pumpkinpie.php

Busia's Mushrooms

My husband loves mushrooms. We both love bacon. So, this basic Thanksgiving day recipe is one of our favorites. And it’s easy to make.

Another added bonus, since it was a recipe handed down from his departed "Busia", we can remember her on this special day.  My husband in fact, does not get excited about Thanksgiving until he walks into the house a couple of days prior when I am cooking this dish, and says "Now, it smells like Thanksgiving in here!" and proceeds to steal a few mushrooms from the pot when I am not looking. 

One quick note, this recipe is best made one to two days prior to serving.


Ingredients:
Mushrooms (I buy at least 10 lbs worth but you don’t need that many)
Thick Cut Good Bacon
Sweet Onion


Clean your mushrooms. Cut any larger mushrooms in half to allow them to cook in same time as the smaller mushrooms and allow them to soften up more as well.


Slice up the bacon into small pieces and cook in a large pot until all the fat is rendered. Remove the bacon bits with a slotted spoon and keep to the side for later.

Carmelize diced onions in some of the bacon fat in another pot.

Add the mushrooms to the bacon fat. Close lid and cook on low flame for however many hours it takes until the mushrooms have released their water and then the water has been cooked until almost completely gone (or if you have the patience, cook until the water is completely gone), stirring occasionally.


Once this has been done, stir in the bacon bits and carmelized onions. Season with salt and pepper to taste.


Let it sit in the refrigerator one to two days prior to serving so that the flavors all blend together.


If you are interested in cooking down the liquids, there are some tips you can use:

One, as soon as the mushrooms have begun heating up enough to start releasing the water, crack the lid. This allows the steam to come out. I take the lid off as soon as all the liquid is released from the mushrooms.

Also, once the mushrooms are a beautiful dark brown color and have shrunk considerably in size, I remove at least half of them to the side. This way, the liquid cooks down faster. Then, I mix all the mushrooms back together again. I did not do this one year and I was cooking mushrooms from 8 am until 9 pm and the liquid still had not reduced by much. The following morning, I tried this trick and it worked within an hour.

Last, you can use a little of the liquid to add into other dishes for added flavor, such as soups, sauerkraut, etc.

This recipe is so beautiful, I couldn’t help but take several photos. Mushrooms are so gorgeous to look at. I use Button whites with some Criminis mixed in. You can use Crimini Mushrooms or Button Whites or , if you feel adventurous, any wild mushrooms you pick in the forests that are safe to eat. Of course, if you do decide to go Mushroom picking, you must be extremely careful, bring a guide who is very knowledgeable in the subject, and perhaps even a mushroom picking guide complete with color photos.


Smacznego!


Related Posts:

My Meatless Golabki

Mushroom Soup or Zupa Pieczarkowa

Mushroom Picking in the Polish Mountains

My Mushroom Sour Cream Sauce


If you liked this recipe, consider making a donation


29 November 2010

Thanksgiving and Remembering Our Past with Sauerkraut

Busia’s Sauerkraut

This recipe is from my husband’s side of the family, who are Polish American by a couple of generations. I believe it is a rudimentary Bigos. It is best made one to two days prior to serving.

What You Need:
Sauerkraut (Busia used bagged Sauerkraut but I use Sauerkraut from Jars as there is less plastic or additives and is more authentic)

Good Thick Bacon
Sweet Onion
Water or Chicken Broth

Drain the Sauerkraut through a sieve. You can reserve this first juice for those who like their sauerkraut, well, sour. Add cold clean water back into the jar and drain again. Add more water, let sit for a while while you do other things around the house. Drain. Again, add water, and this time after it soaks a while, drain it while squeezing the sauerkraut to get the sour flavor out. The liquids from all this draining are really useless so you can just toss it down your drain.


Dice the bacon and cook until all the fat is rendered. Remove the bacon bits with a slotted spoon and reserve for later.


Add some diced sweet onion, your preference how much, I use ¼ of an onion. Caramelize in the bacon fat.


Add the drained sauerkraut, bacon bits, and either water or Chicken Broth, enough to come to the top of the sauerkraut. Cook on low and slow for about an hour to help flavors to blend together, stirring occasionally. Season with salt and pepper to taste. You can also add crushed (with mortar and pestle) caraway seed, if you like.

Refrigerate for one to two days prior to serving. On the day of serving, heat it on low and slow for at least a half hour to allow the flavors to blend even more.


A Side Note:  The first drained liquid has vitamins and minerals in it from the sauerkraut, which is beneficial to eat. Assuming that you purchased a true sauerkraut that has no artificial flavorings, colorings, preservatives or other nasty additives.

Also, I wanted to explain why it's called "Busia's" Sauerkraut.  Modern day Poles call their Grandmothers "Babcia", however, as my husband's family is Polish by a couple of generations, prior to The Great War, in the Ukraine, Grandmothers were called "Babusia", shortened to "Busia", and sometimes twisted by accent and time to "Buzia" (which actually means "mouth" but I am just glad that they try and are close)...


If you enjoyed this post, please feel free to check out my post about "Busia's Mushrooms" http://polishmamaontheprairie.blogspot.com/2010/11/busias-mushrooms.html

Also, please check out my post about the Polish word for Grandmother and all it's variations in the American language http://polishmamaontheprairie.blogspot.com/2010/12/polish-grandmother-babcia-busia-buzia.html


If you liked this recipe, consider making a donation